Our wonderful beautiful daughter, Annie, turned 1 in June. We decided that even though it would be incredibly hot, it would keep mommy much more sane to do the party outside. We tried to reserve the park behind our house, but it was already reserved 6 months in advance. Drats. So, we went ahead and had the big bash in the front yard.
Not having to worry about cleaning house left me a little time to dedicate to creating some great crafts for the party. (So did having plenty of Grandma's here the night before the big day). I knew I did not want the stress of making a cake mainly because I am not a huge fan of cake, unless it is ice cream. I also knew I would be a perfectionist when it came to decorating and would not be thrilled with my results.
With that being said, I lurked around on the www and in some magazines and found my inspirational jumping points: A balloon wreath, cute favors,and a handmade ONEsie for the Birthday girl.
Up first the wreath. To keep you enticed I added the end results first. Looks great doesn't it?

This was such an awesome idea. I found a tutorial at howdoesshe.com. They used 144 balloons. I originally bought 100, but as soon as I had 25 attached, I knew I was in trouble.

This is the wreath with 25 balloons on it. Not very pretty! I knew then, I would need quite a few more!
Items needed:
straw wreath (do not unwrap it)- I used 16"
200 Floral Picks
200 Balloons
Paper Mache number 1 (thank you Hobby Lobby)
Paint
Mod Podge
Glitter
Ribbon for hanging items
It is so simple to make. Install your balloons to the wreath with a floral pic:

And just keep installing. (Save two pics for the back hook, just double up a couple of balloons) I only put them on the front section. Not on the sides or the back. It may not look right having that empty space on the sides, but remember it is hanging and no one will see it. Just keep stuffing the wreath with balloons until you are finished. How great is that!!!
By the way, our color inspiration came from a Hefty disposable plate. From that one plate, we built the whole party!
After you have finished installing all your balloons, we are going to add the hook to the back:


I took a scrap piece of ribbon tied knots on both ends and used the two reserved floral pics to hang it. I put the pics as close as I could to the knots.
Sure, a balloon wreath looks great on its own, but at the Hiner house we go big on everything!
I found a One at Hobby Lobby and painted it Lime Green:

I let it dry then added mod podge and glittered the heck out of that one! Lime green glitter of course!

Next I took another piece of scrap ribbon and glued it to the back of the one. I measured and glued the ribbon so that the one would hang in the middle of the wreath.

Look at that one. It is so sad and lonely. Side note: the cool thing about this is I can reuse both items separately if needed.
Let's see the finished product one more time!

The favors were another big hit! We found the idea in a Parents' magazine and made it our own using baby food jars, spray paint, labels, curling ribbon, cheerios, fruit loops, gummy life savers, and twizzler ropes.


They are Make Your Own Candy Necklace kits!!!
I love them. What a great thing to send with the kiddos, they use it and you can throw it away. Nothing is left sitting around collecting dust. These were made by the wonderful and talented Mema Debbie. She spray painted the lids, printed the labels in the color of the party, and tied curling ribbon around the top.
They truly are one of my favorites. The great thing is that you can do this with so many other items and colors!
The last item was Annie's onesie. I sewed a simple ONE on the front using a straight stitch. I also sewed a cupcake on the rear because it just seemed to be needed.


Thank you for disregarding the big rear end in this pic and only focusing on the tiny one with the cupcake on it. I am new and still haven't learned where the crop function is:)
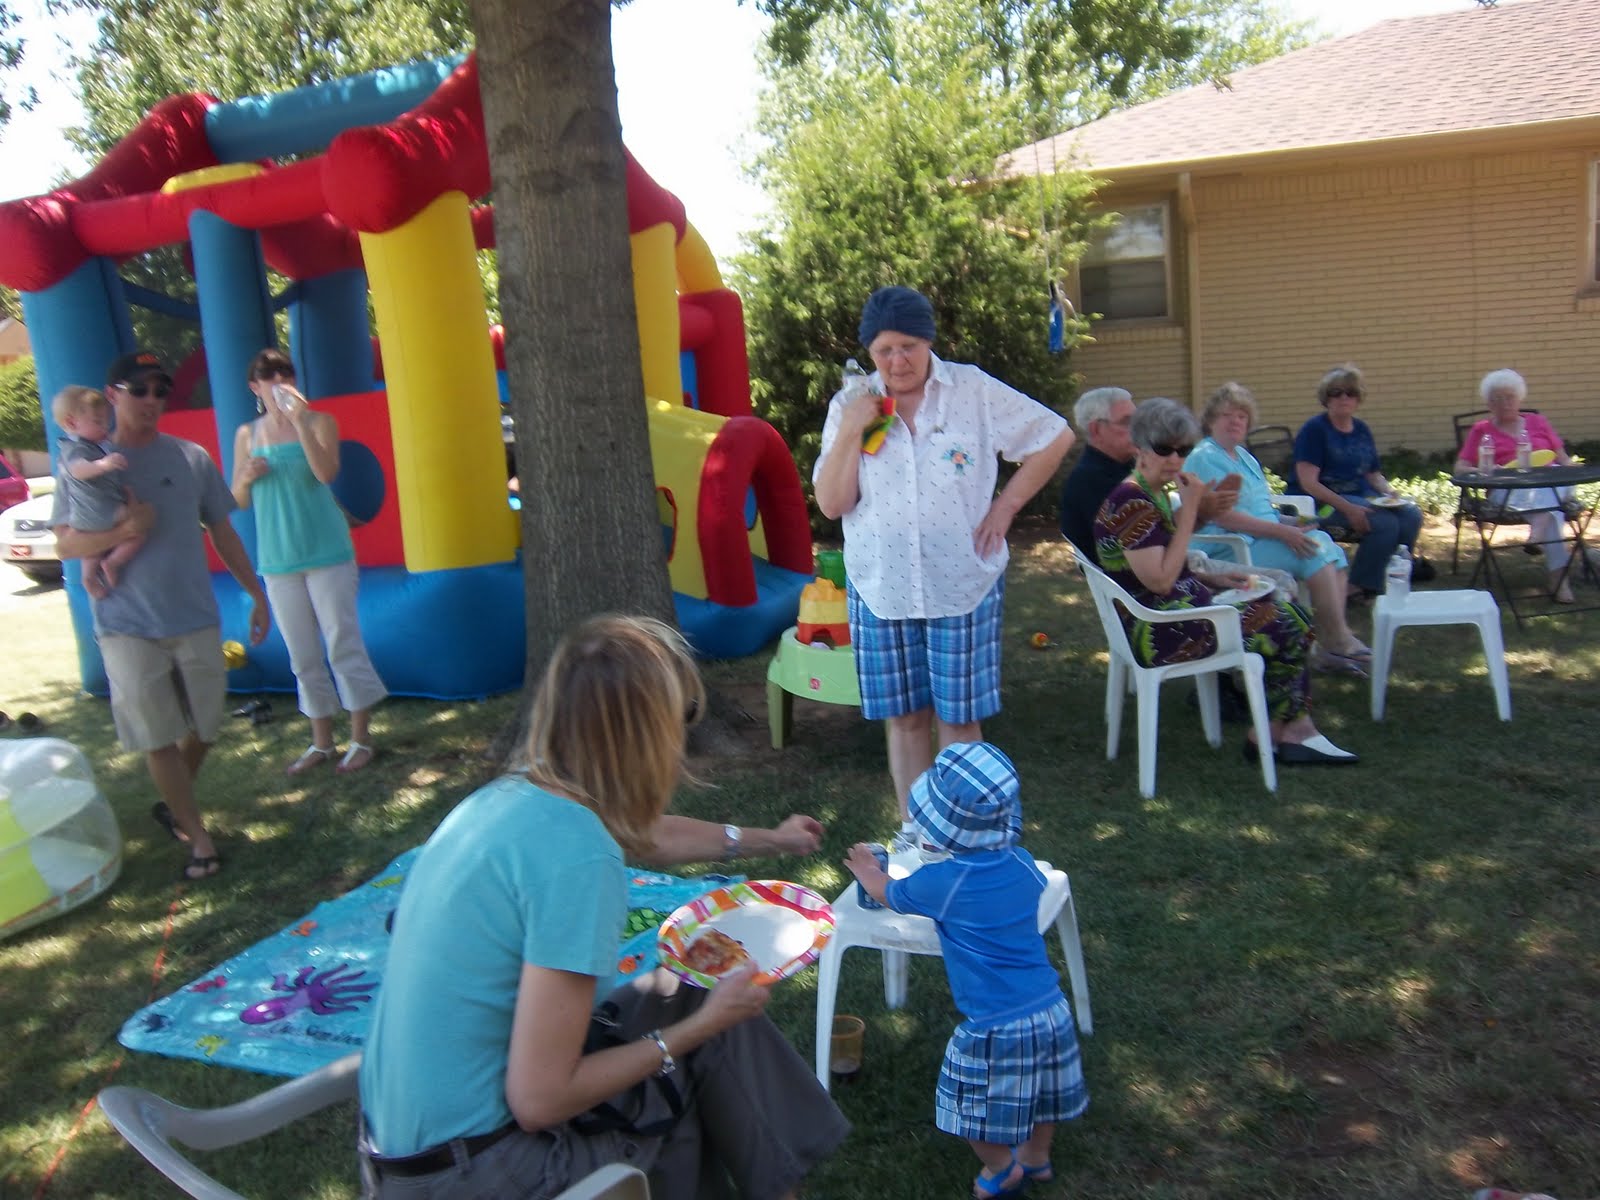
All in all, it turned out to be a great day. No tears were shed, most of our loved ones were there to share in the experience, and Annie had a blast. I would say it was a great start as far as Birthdays go. I will leave you with a few pics of the big day:


What a long day for Miss Annie. She decided to end it with a nice soak in the pool.

What a blessing she has been in our lives!
Just a few more side notes: I am not going to feature another wreath until I forget that I need to paint my front door!
I also would like to thank OKC for 30 mile an hour winds to keep us cool that day, and for tablecloth weights which ended up serving a second purpose as "dress weights" to keep the ladies skirts in place. And a big shout out to everyone who helped...you know who you are. And to Mr. Hiner for going along with the craziness:)
Much love from The Ponytail Momma
Ahhh! I love everything about this post! What a gorgeous party...... So sorry we missed it, although I'm sure you're glad we didn't give Annie that virus. The wreath is adorable and looks like even I could do it! My fave picture is the one with Grannie......and you are amazing.
ReplyDeleteThanks Michelle! You can definitely make this wreath. It was so much fun. Annie and Granny Annie always take such good pics together. Thank you again, but we definitely missed all of you at the party!
ReplyDeleteI was like... "HEY! I'm not in a single picture!" Then I realized... I took them! Ha;) love the wreath and the onsies. Annie is going to see these pictures someday and say," MAN, my mom rocks!" - Amber
ReplyDeleteYou are the party QUEEN!! Love, Steph
ReplyDeleteSo do you know what spray paint woud be safe to use to paint these baby food jar lids? I spray painted my jar lids with krylon and although its not considered toxic after its dry, I decided to not use those lids as the jars were meant for the kids as party favors. Please let me know if any of you know of a kids safe, non-toxic spray paint. Thanks!
ReplyDeleteI truly do not know what spray paint would be the best non toxic and am not sure they even make one. I will say, that most of the kids made their necklaces at the party and their jars went straight into recycling. So they really weren't even messing with them too much.
ReplyDeleteOne idea though, instead of spray paint is to cut out a construction paper disk or scrap paper disk and glue it to the top and glue a thin piece of ribbon around the rim.
I hope that helps and thanks for the questions. Please let me know if you use something different. I would love to see how they turn out!